Painting a Brick Fireplace
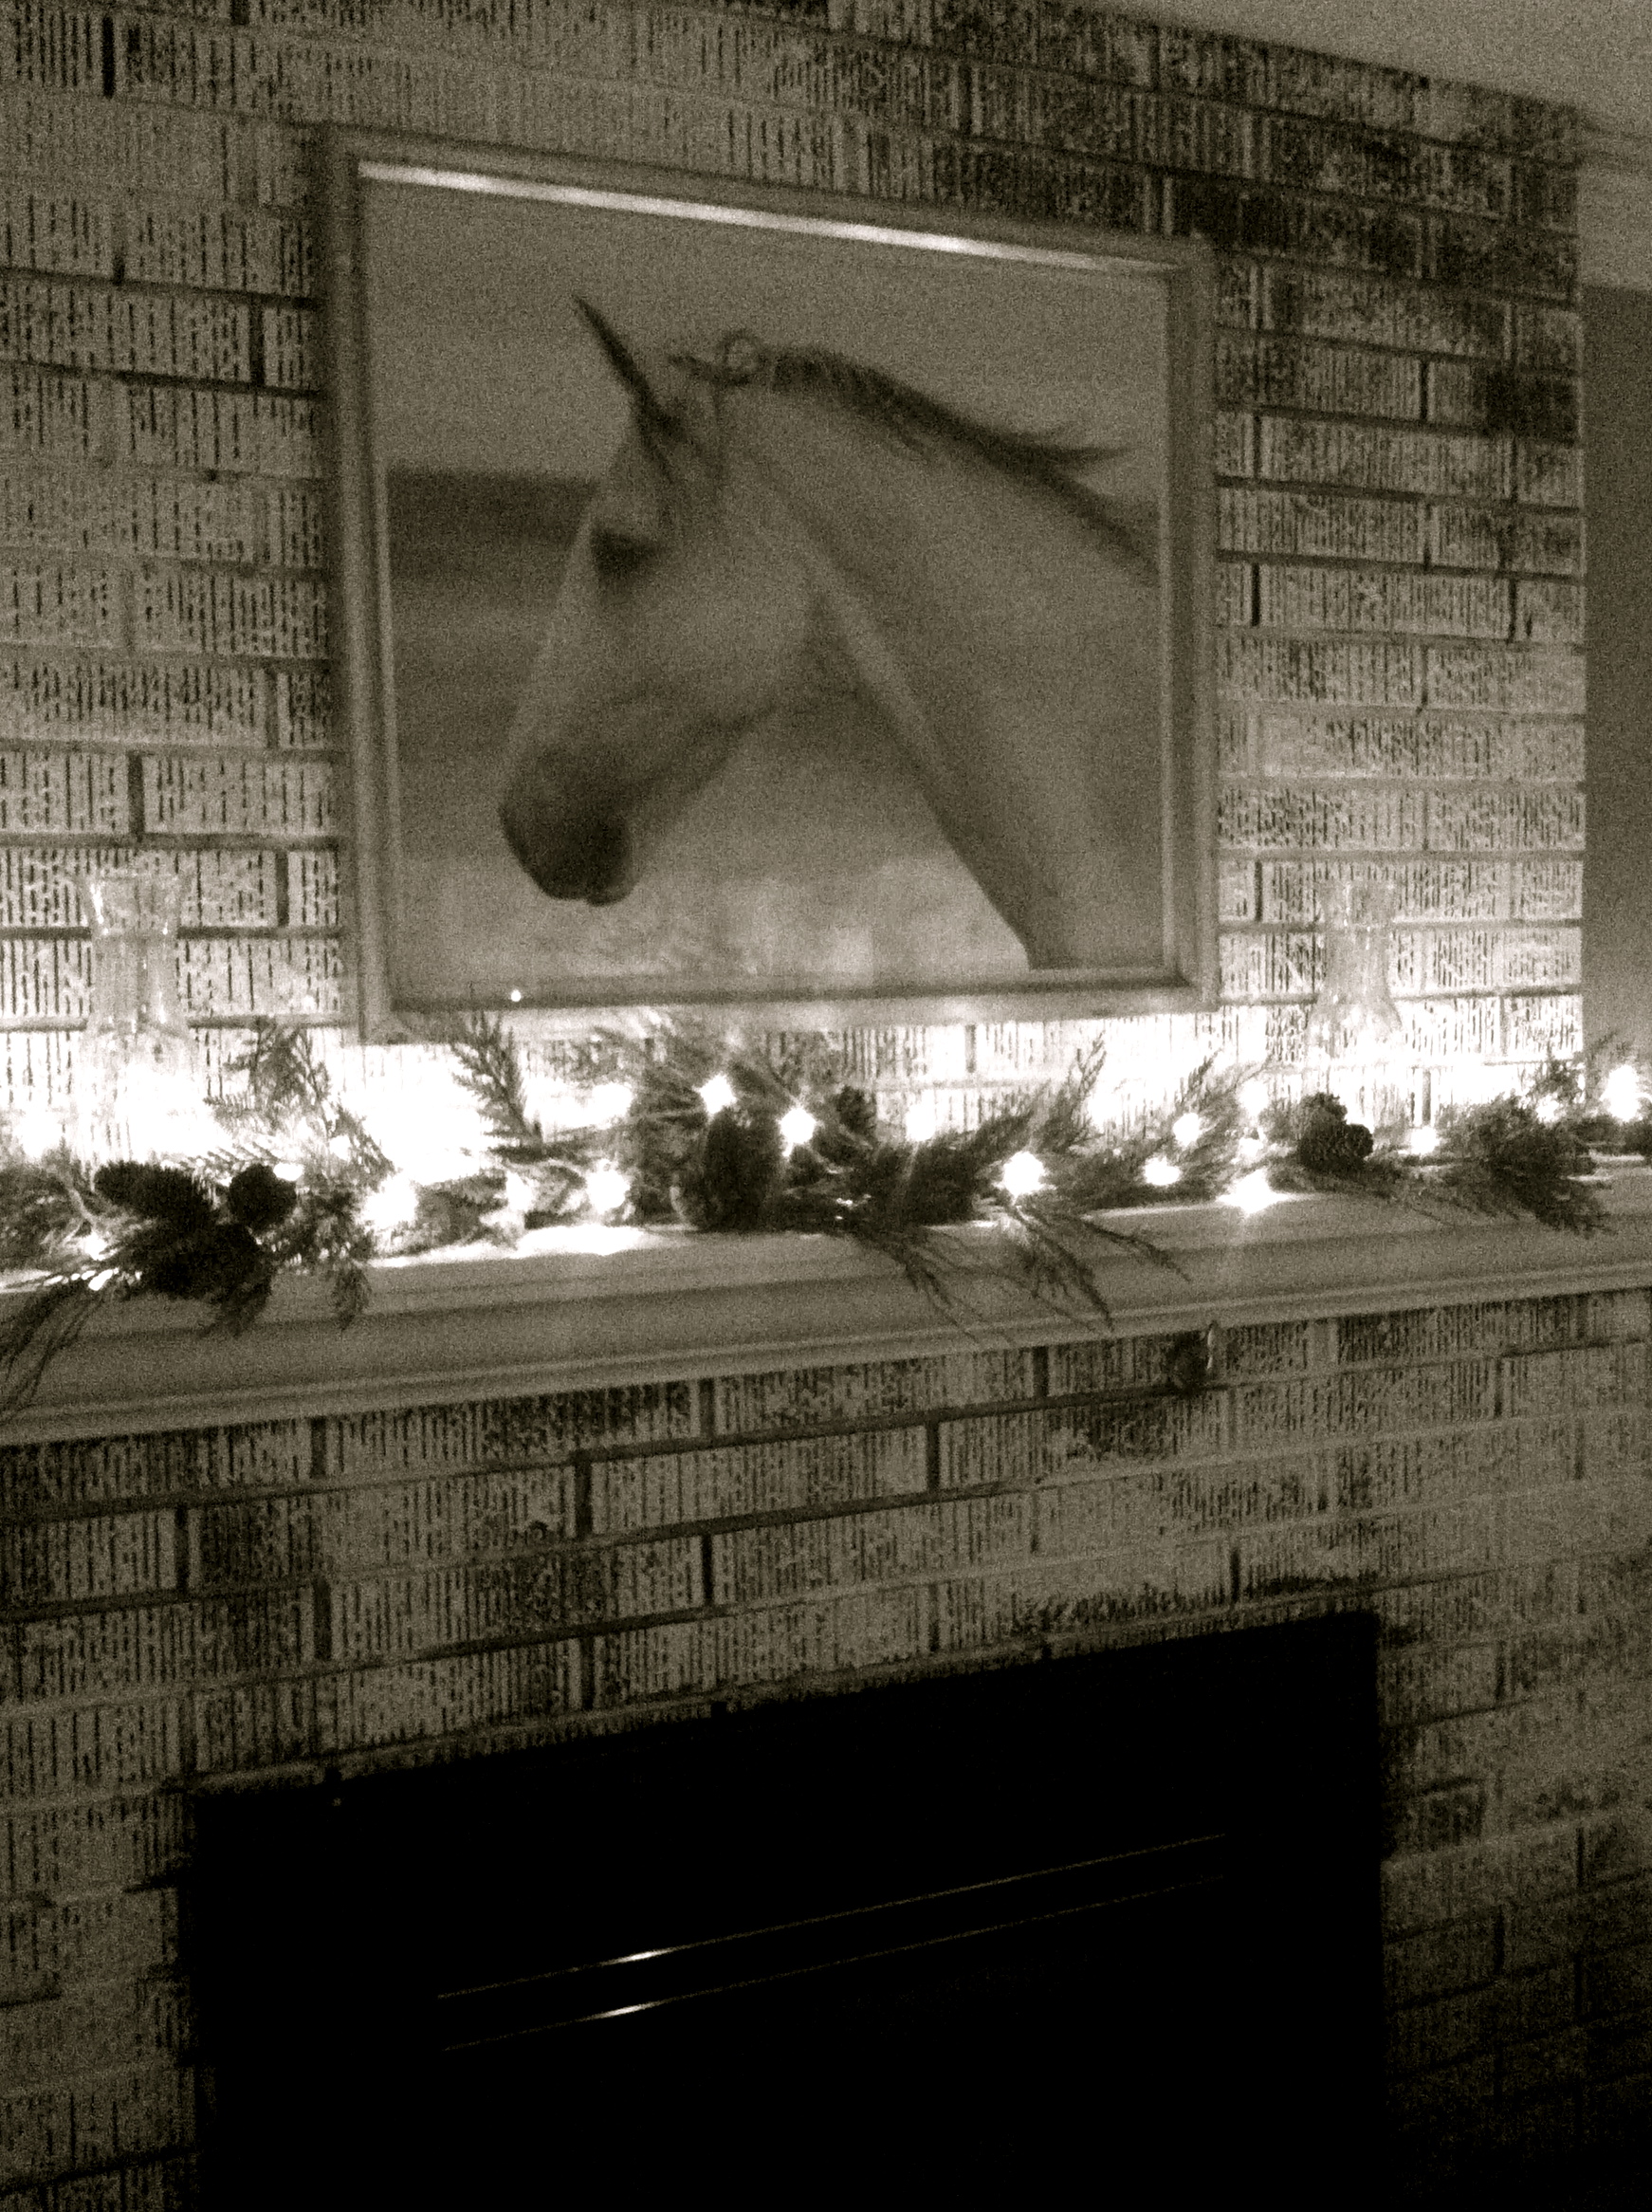
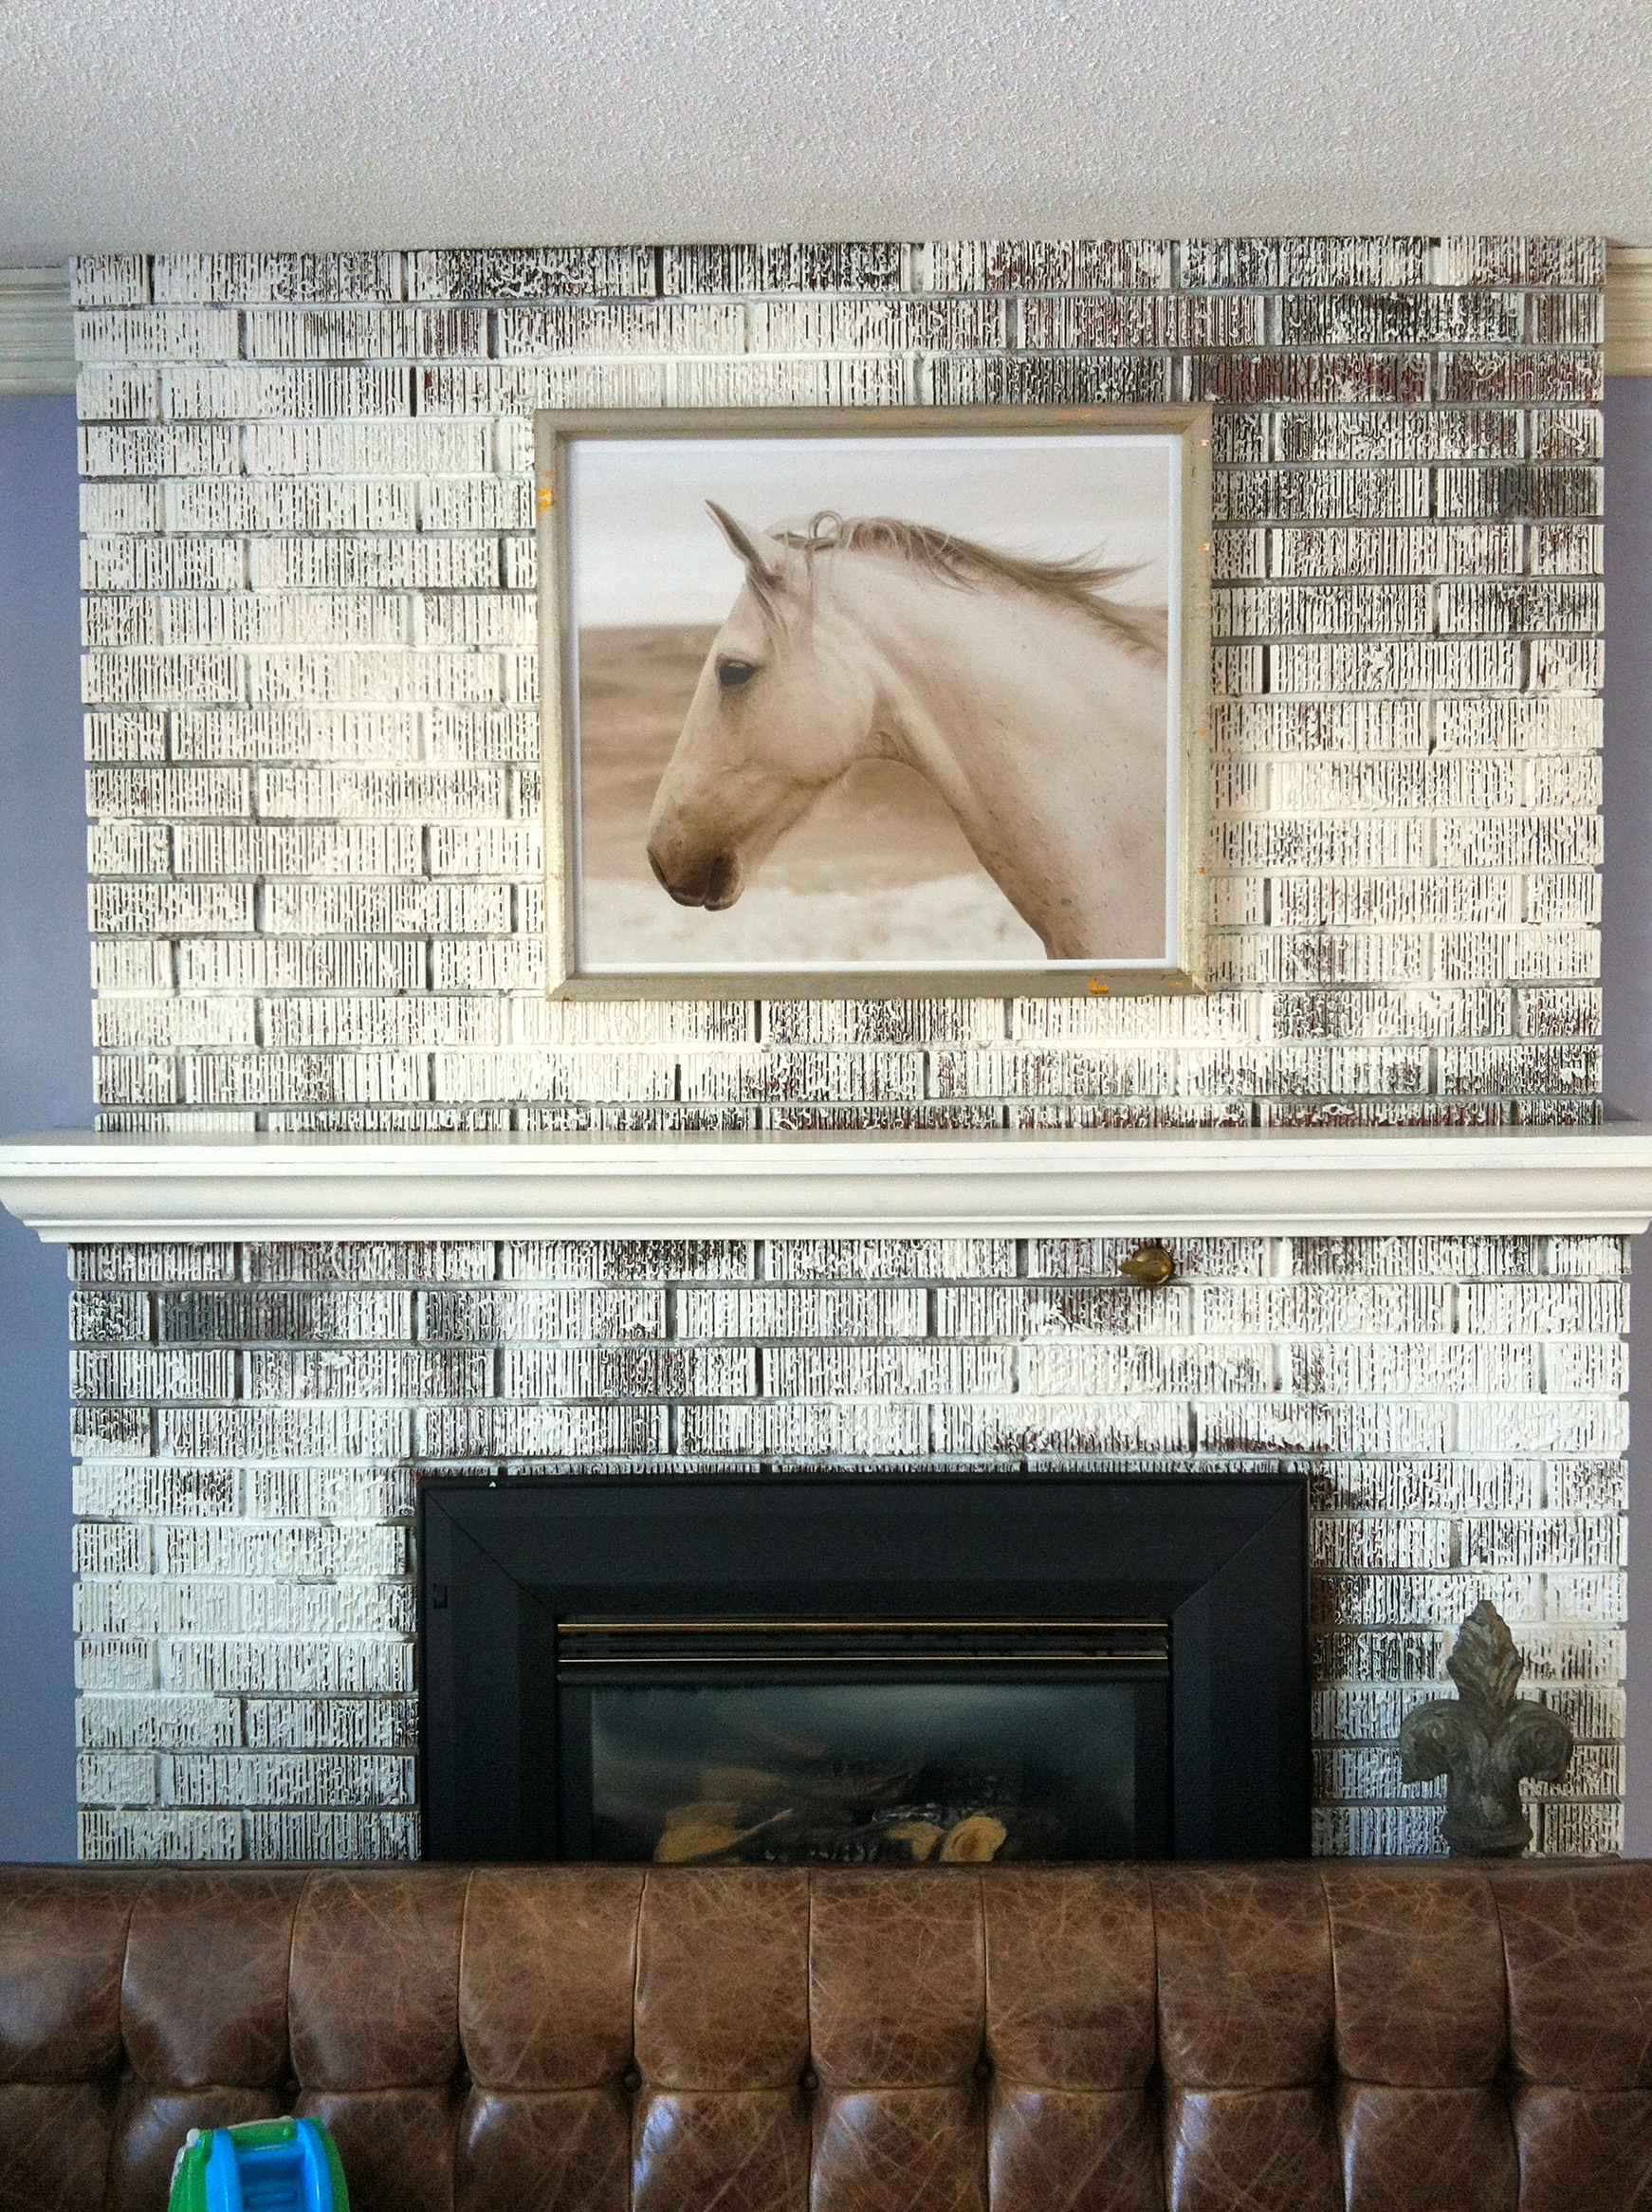
I’ve always disliked my 60’s brick fireplace surround and intended to paint it. The other day I found a photo of a white horse and fell in love. Had to have it. I brought it home and leaned it on my mantle. It was immediately apparent that the horse needed something more beautiful than my dated brick to call home! So I headed to my basement to see what leftover paints I had. I had some whites and greys. I found an extra spongey roller and a paintbrush and set to work on painting that dated brick. It took me under 4 hours with a toddler underfoot! It was a rush job, but I was pleased with the final result.
The next task I think I’m going to conquer is the fireplace itself. The black is ugly and could do with brightening up. However, I think it might be tough to repaint the actual fireplace so I’m considering what I can put in the fireplace to make it look different. I’ve seen that you can get different coloured fireplace glass which just sits on the bottom of the fireplace. Depending on what colour glass I get, the fireplace can instantly be brightened and look more appealing in the front room. I’m leaning towards a mirrored glass as I think it will complement the whole wall, including the picture. Then, all I have to do is look for a heating fuel supplier, one similar to Romeo’s Fuel, to finally get us set to face winter head-on.
What do you guys think about my plans and what I should do in the future?
I want to ensure we are all set for the coming winters and also for festivities. Renovating the fireplace now means one less thing to do later for Christmas.
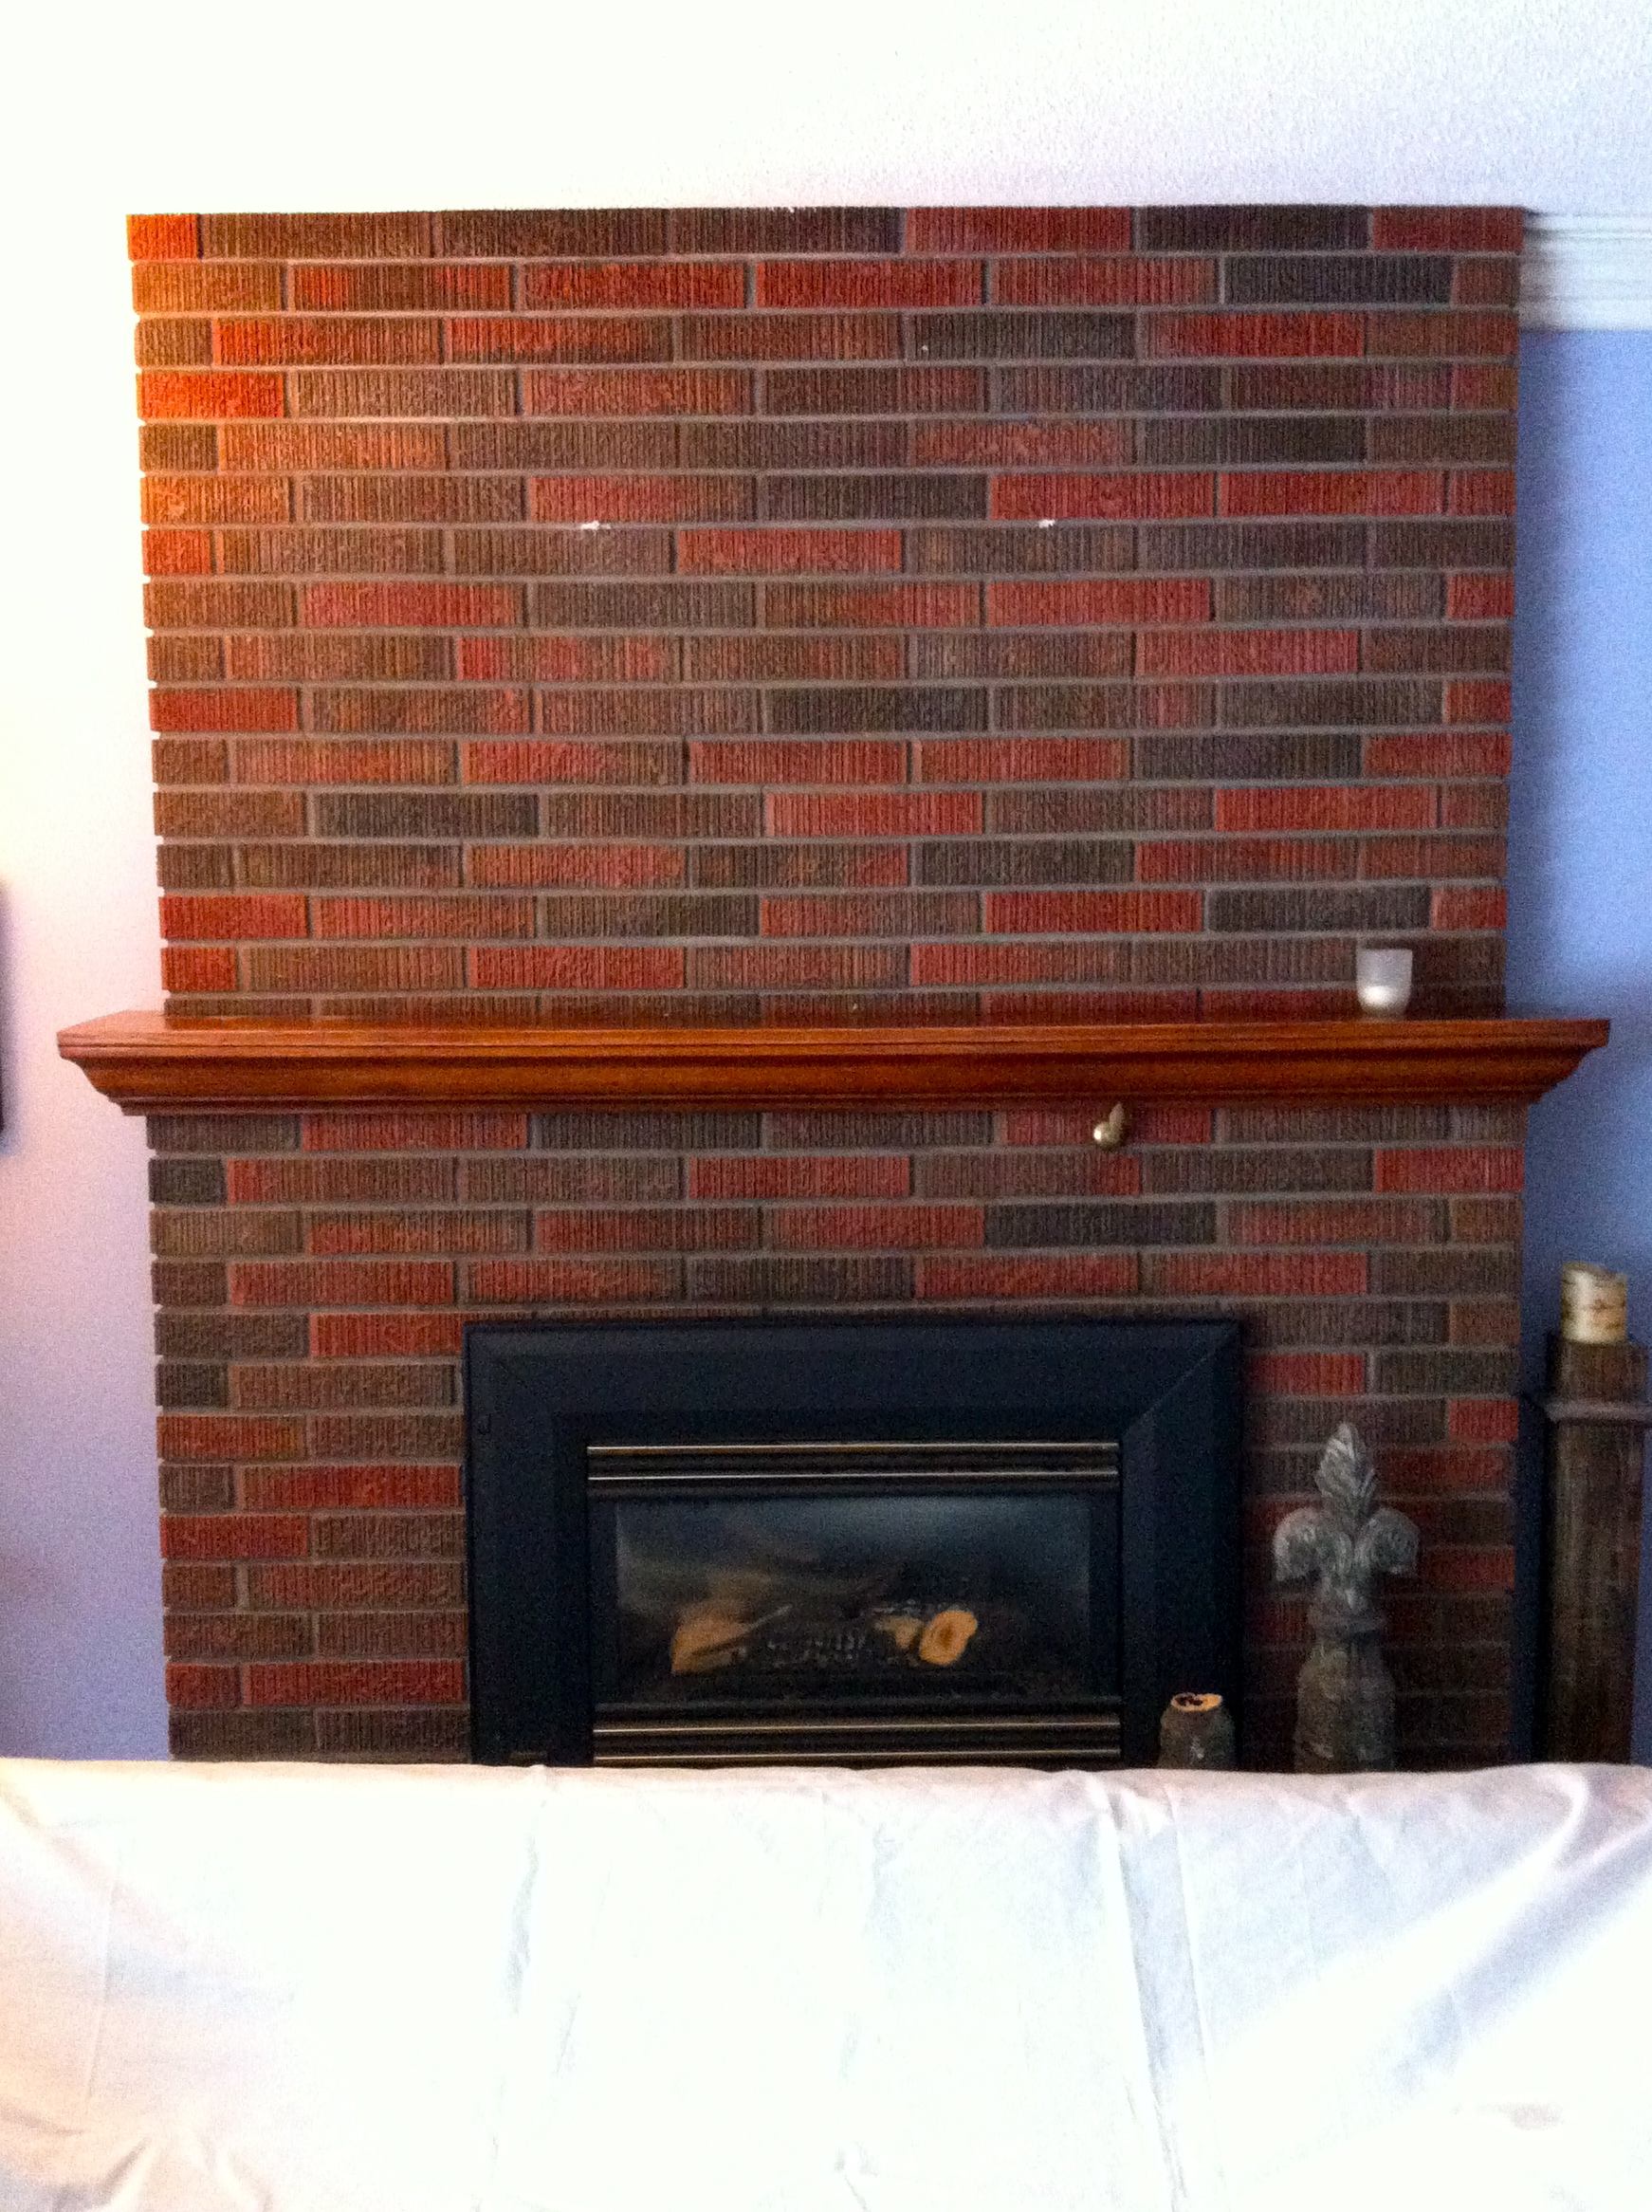
1960’s brick fireplace surround
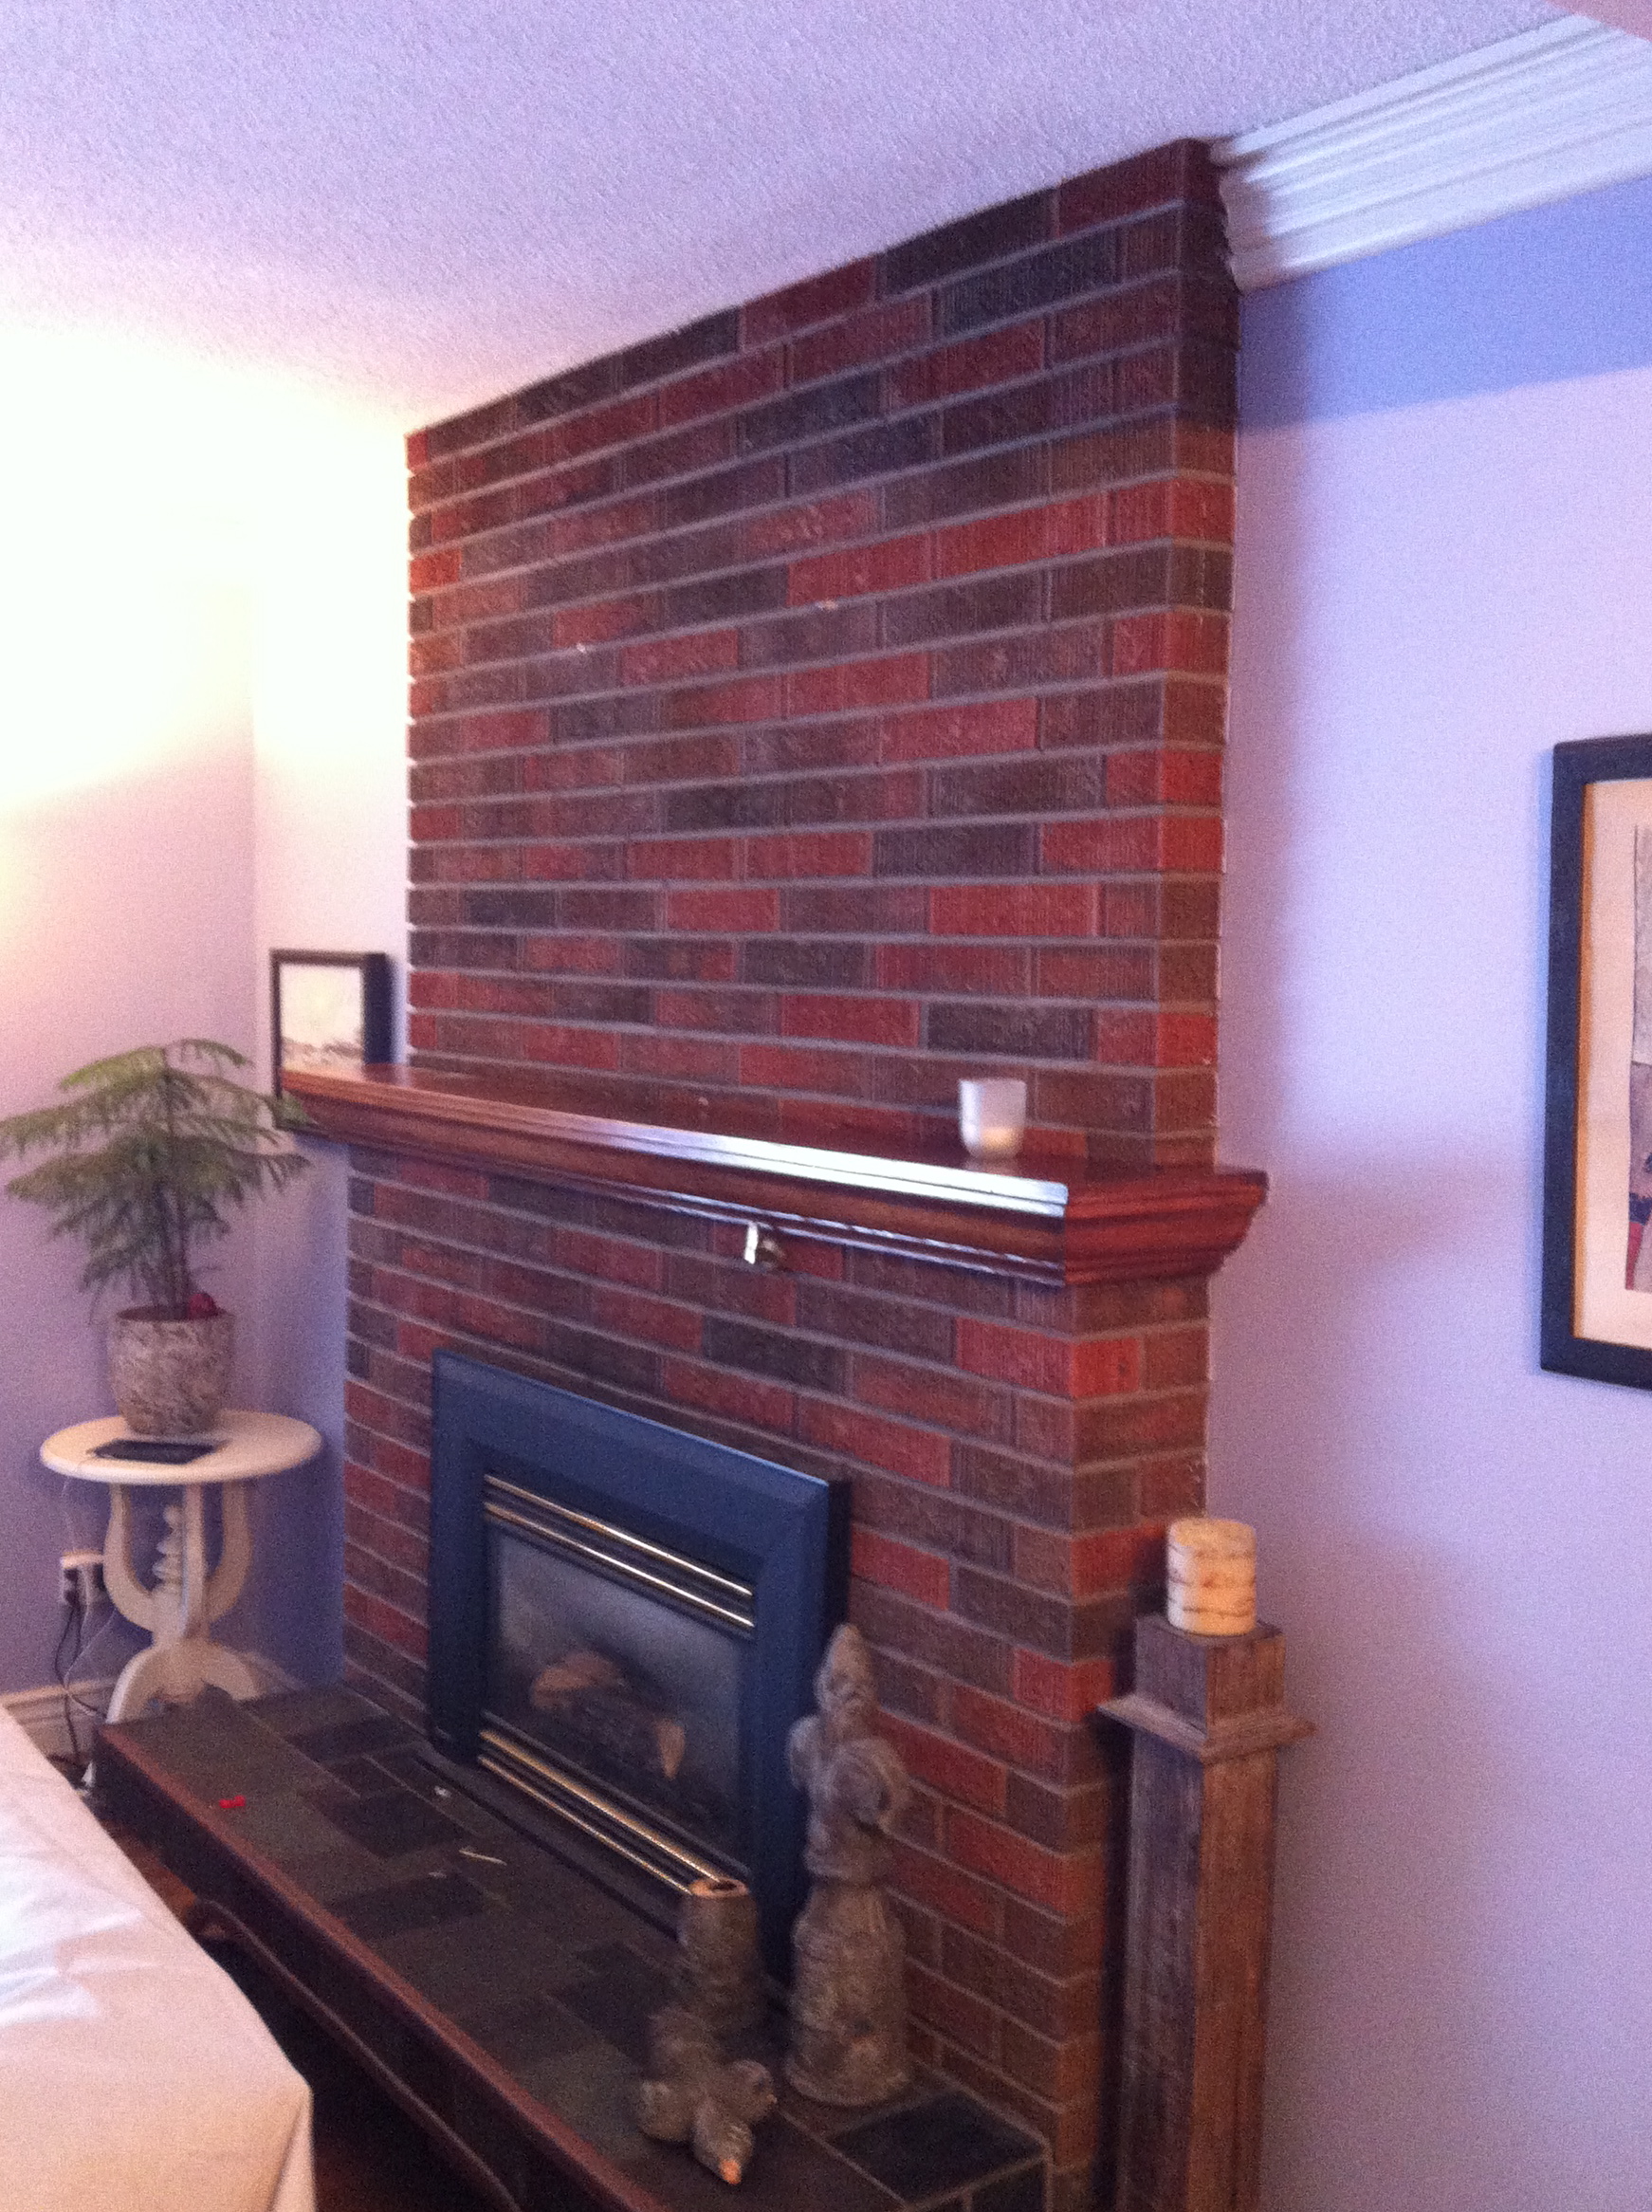
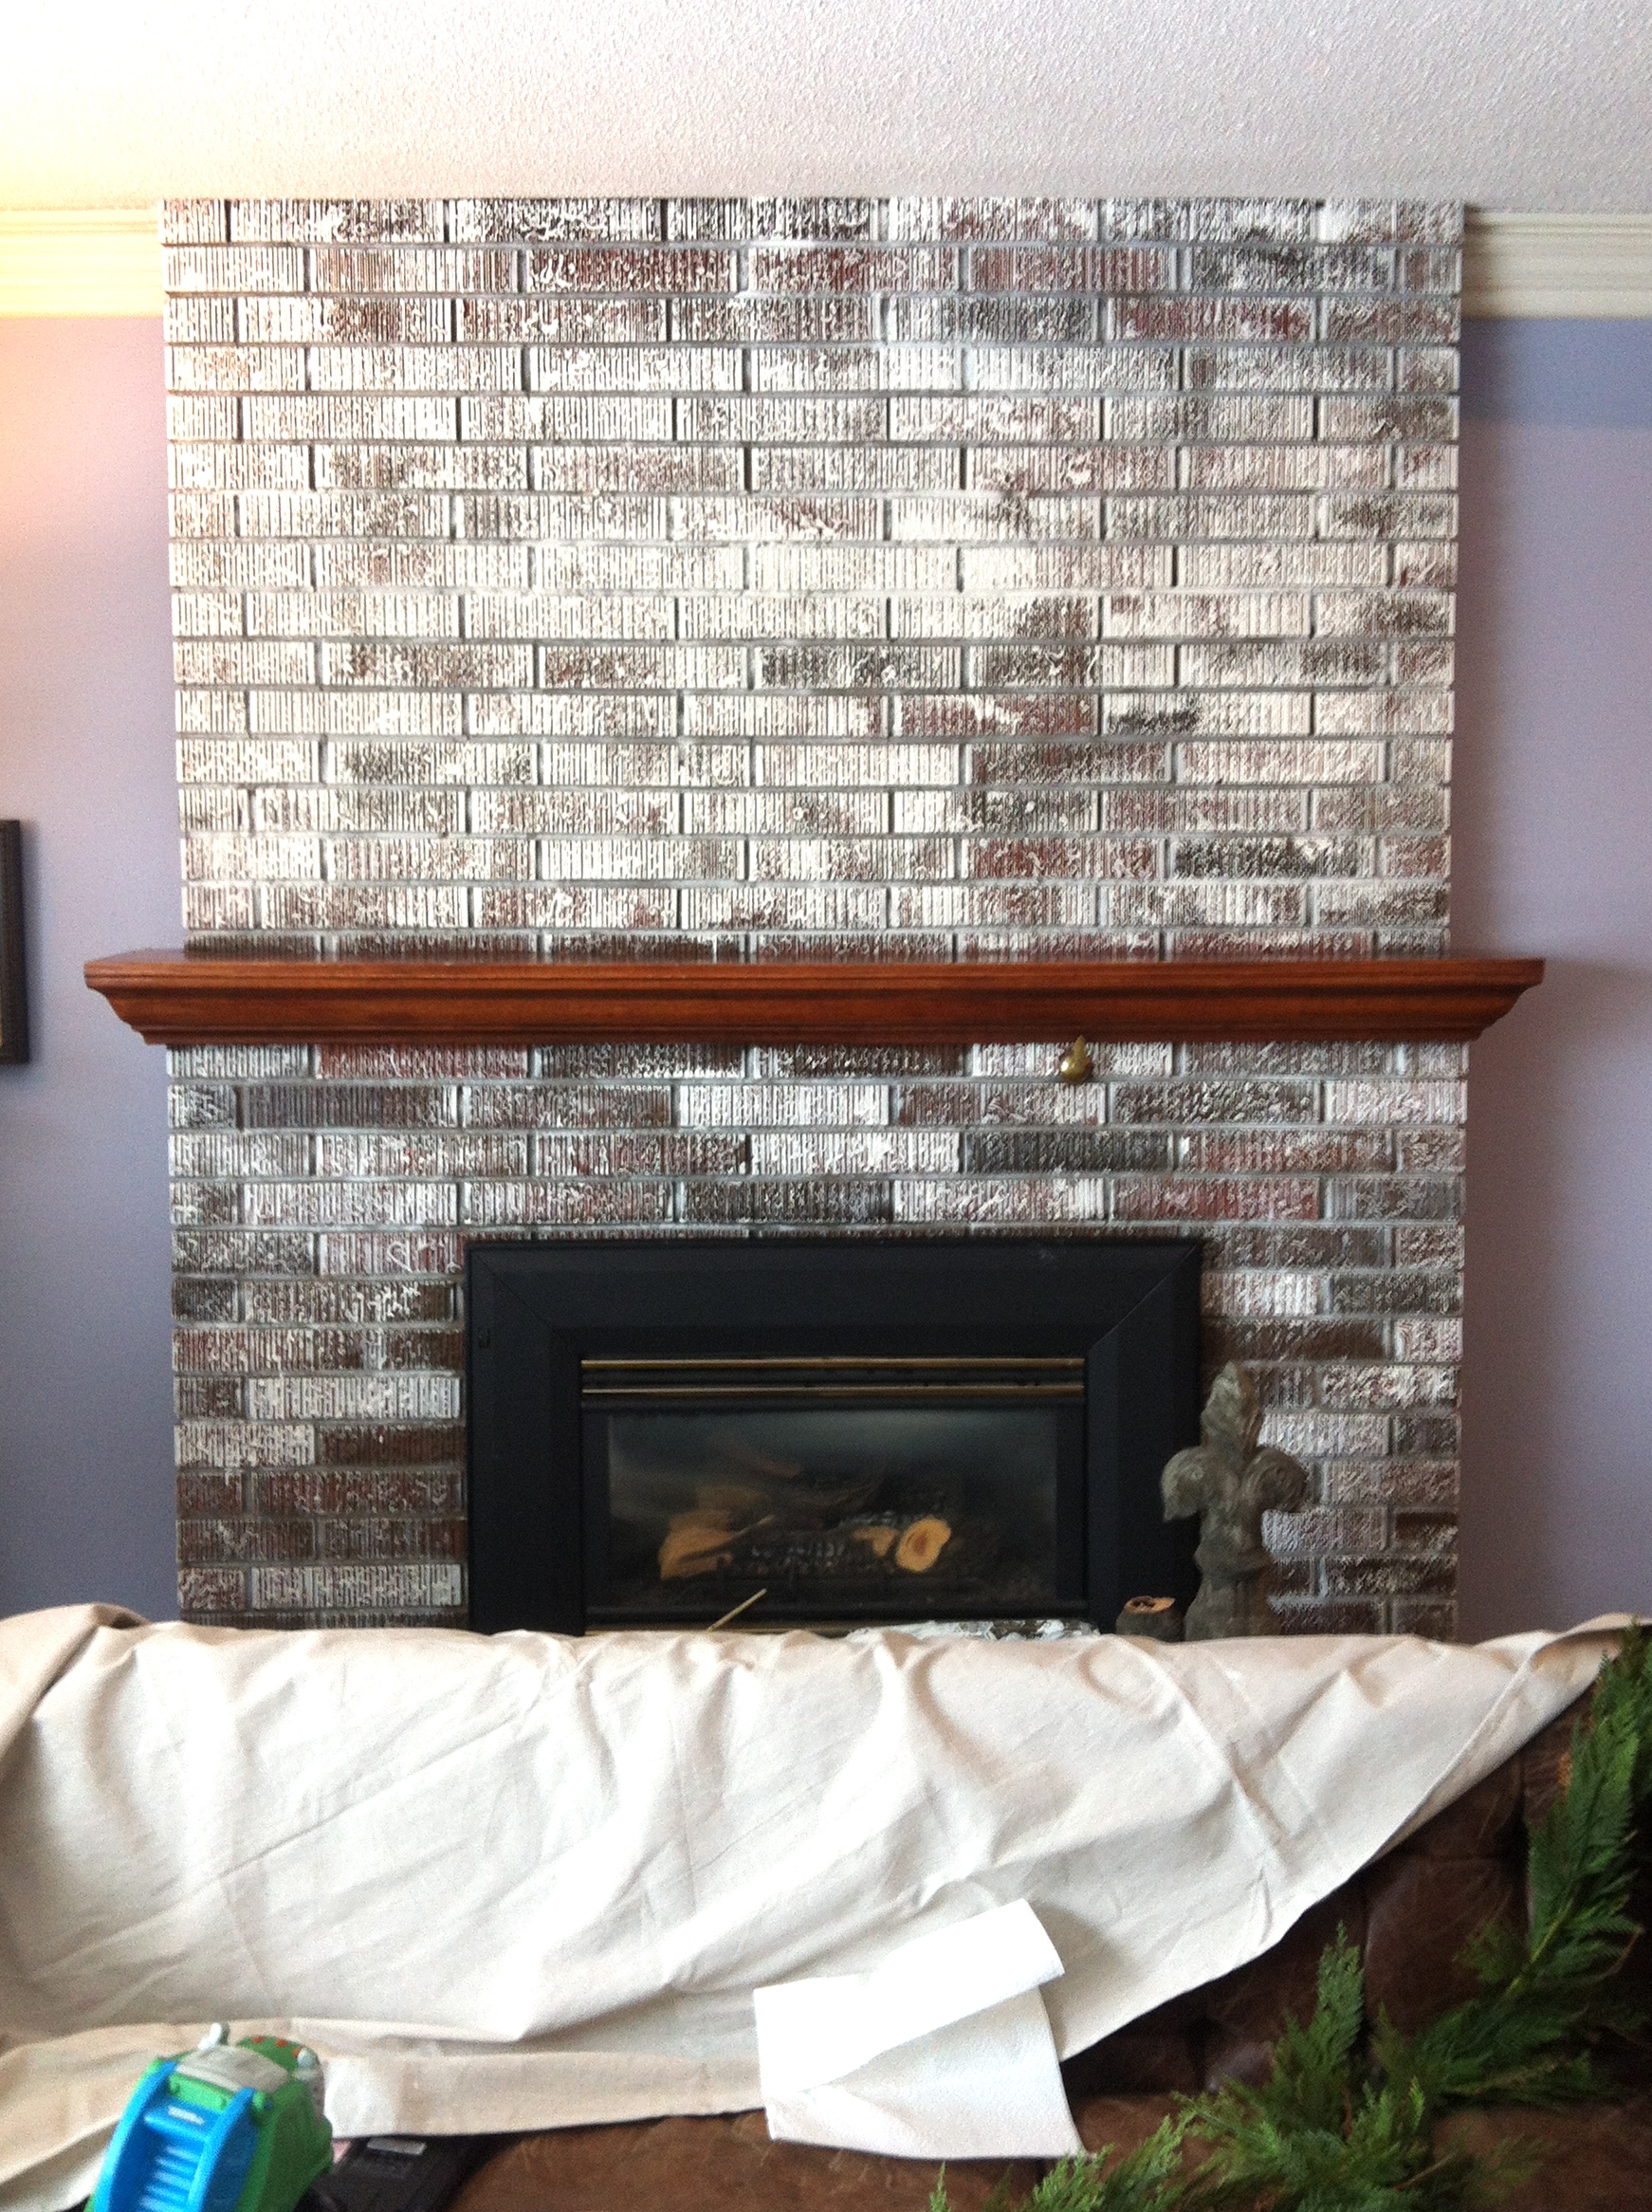
side angle… so you get the full feel of the look!
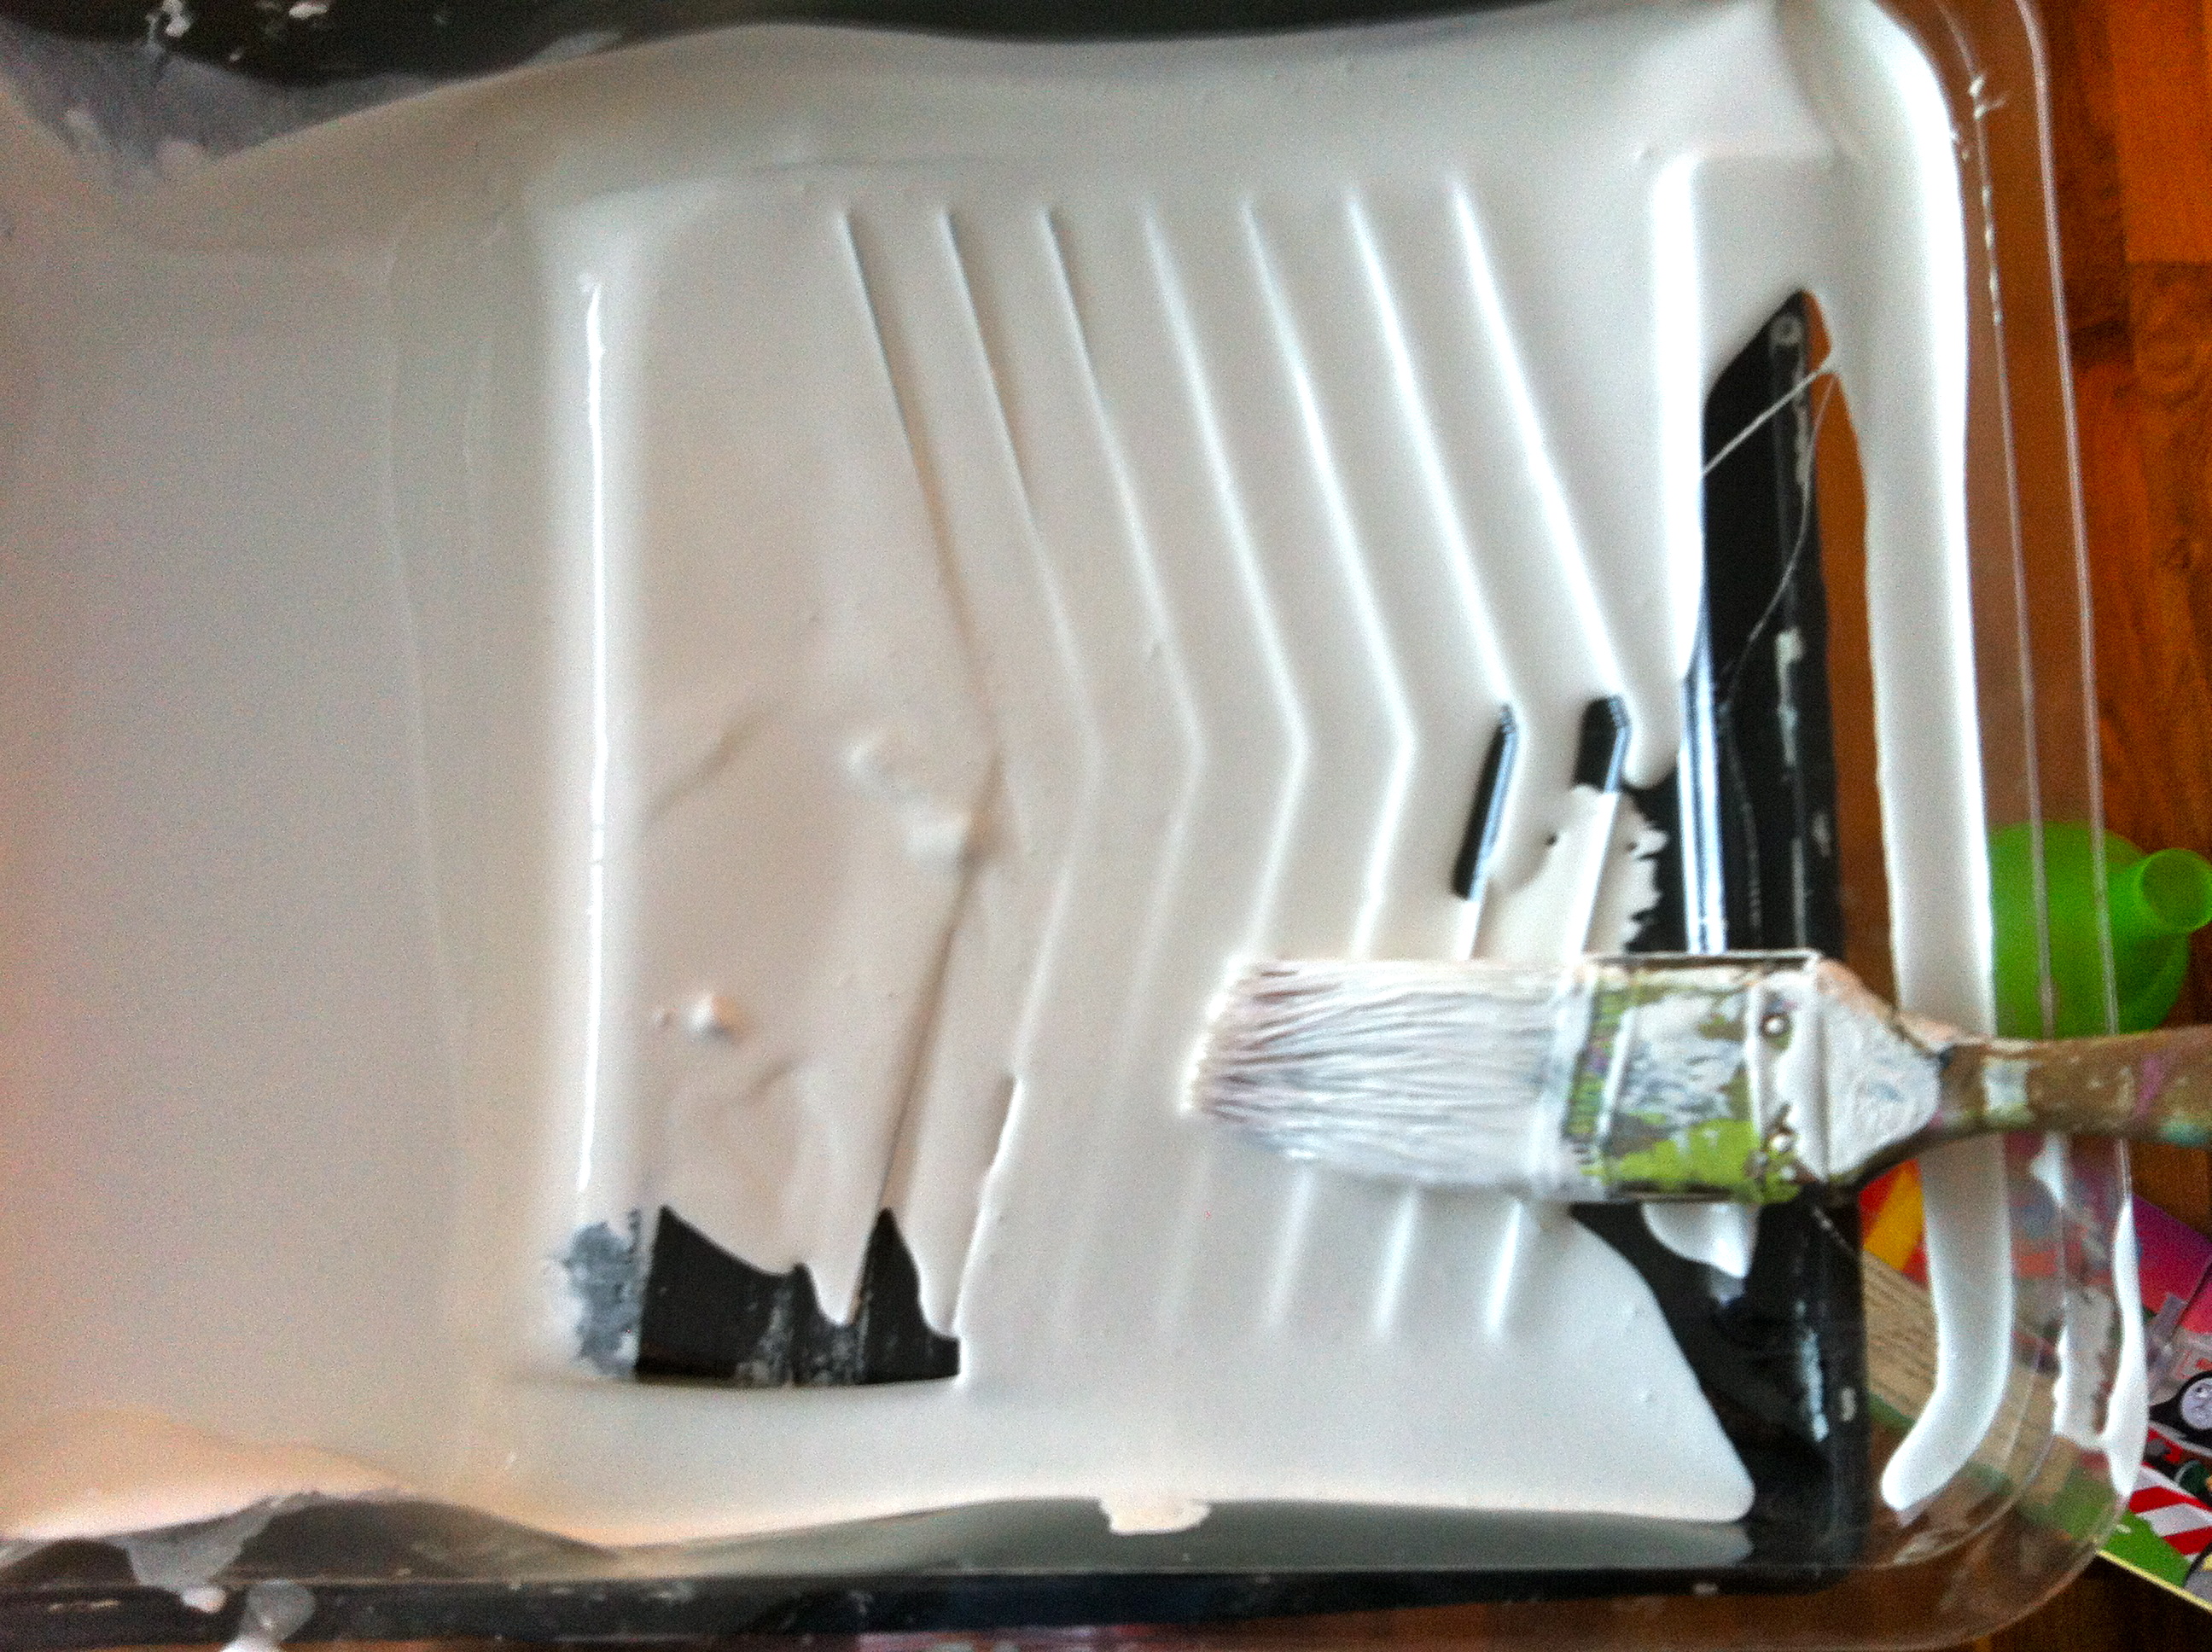
A mix of white acrylic paints in an eggshell finish. (The paint you buy in a can at the paint store!). This paint was quite old and gummy which worked well for my textured brick.
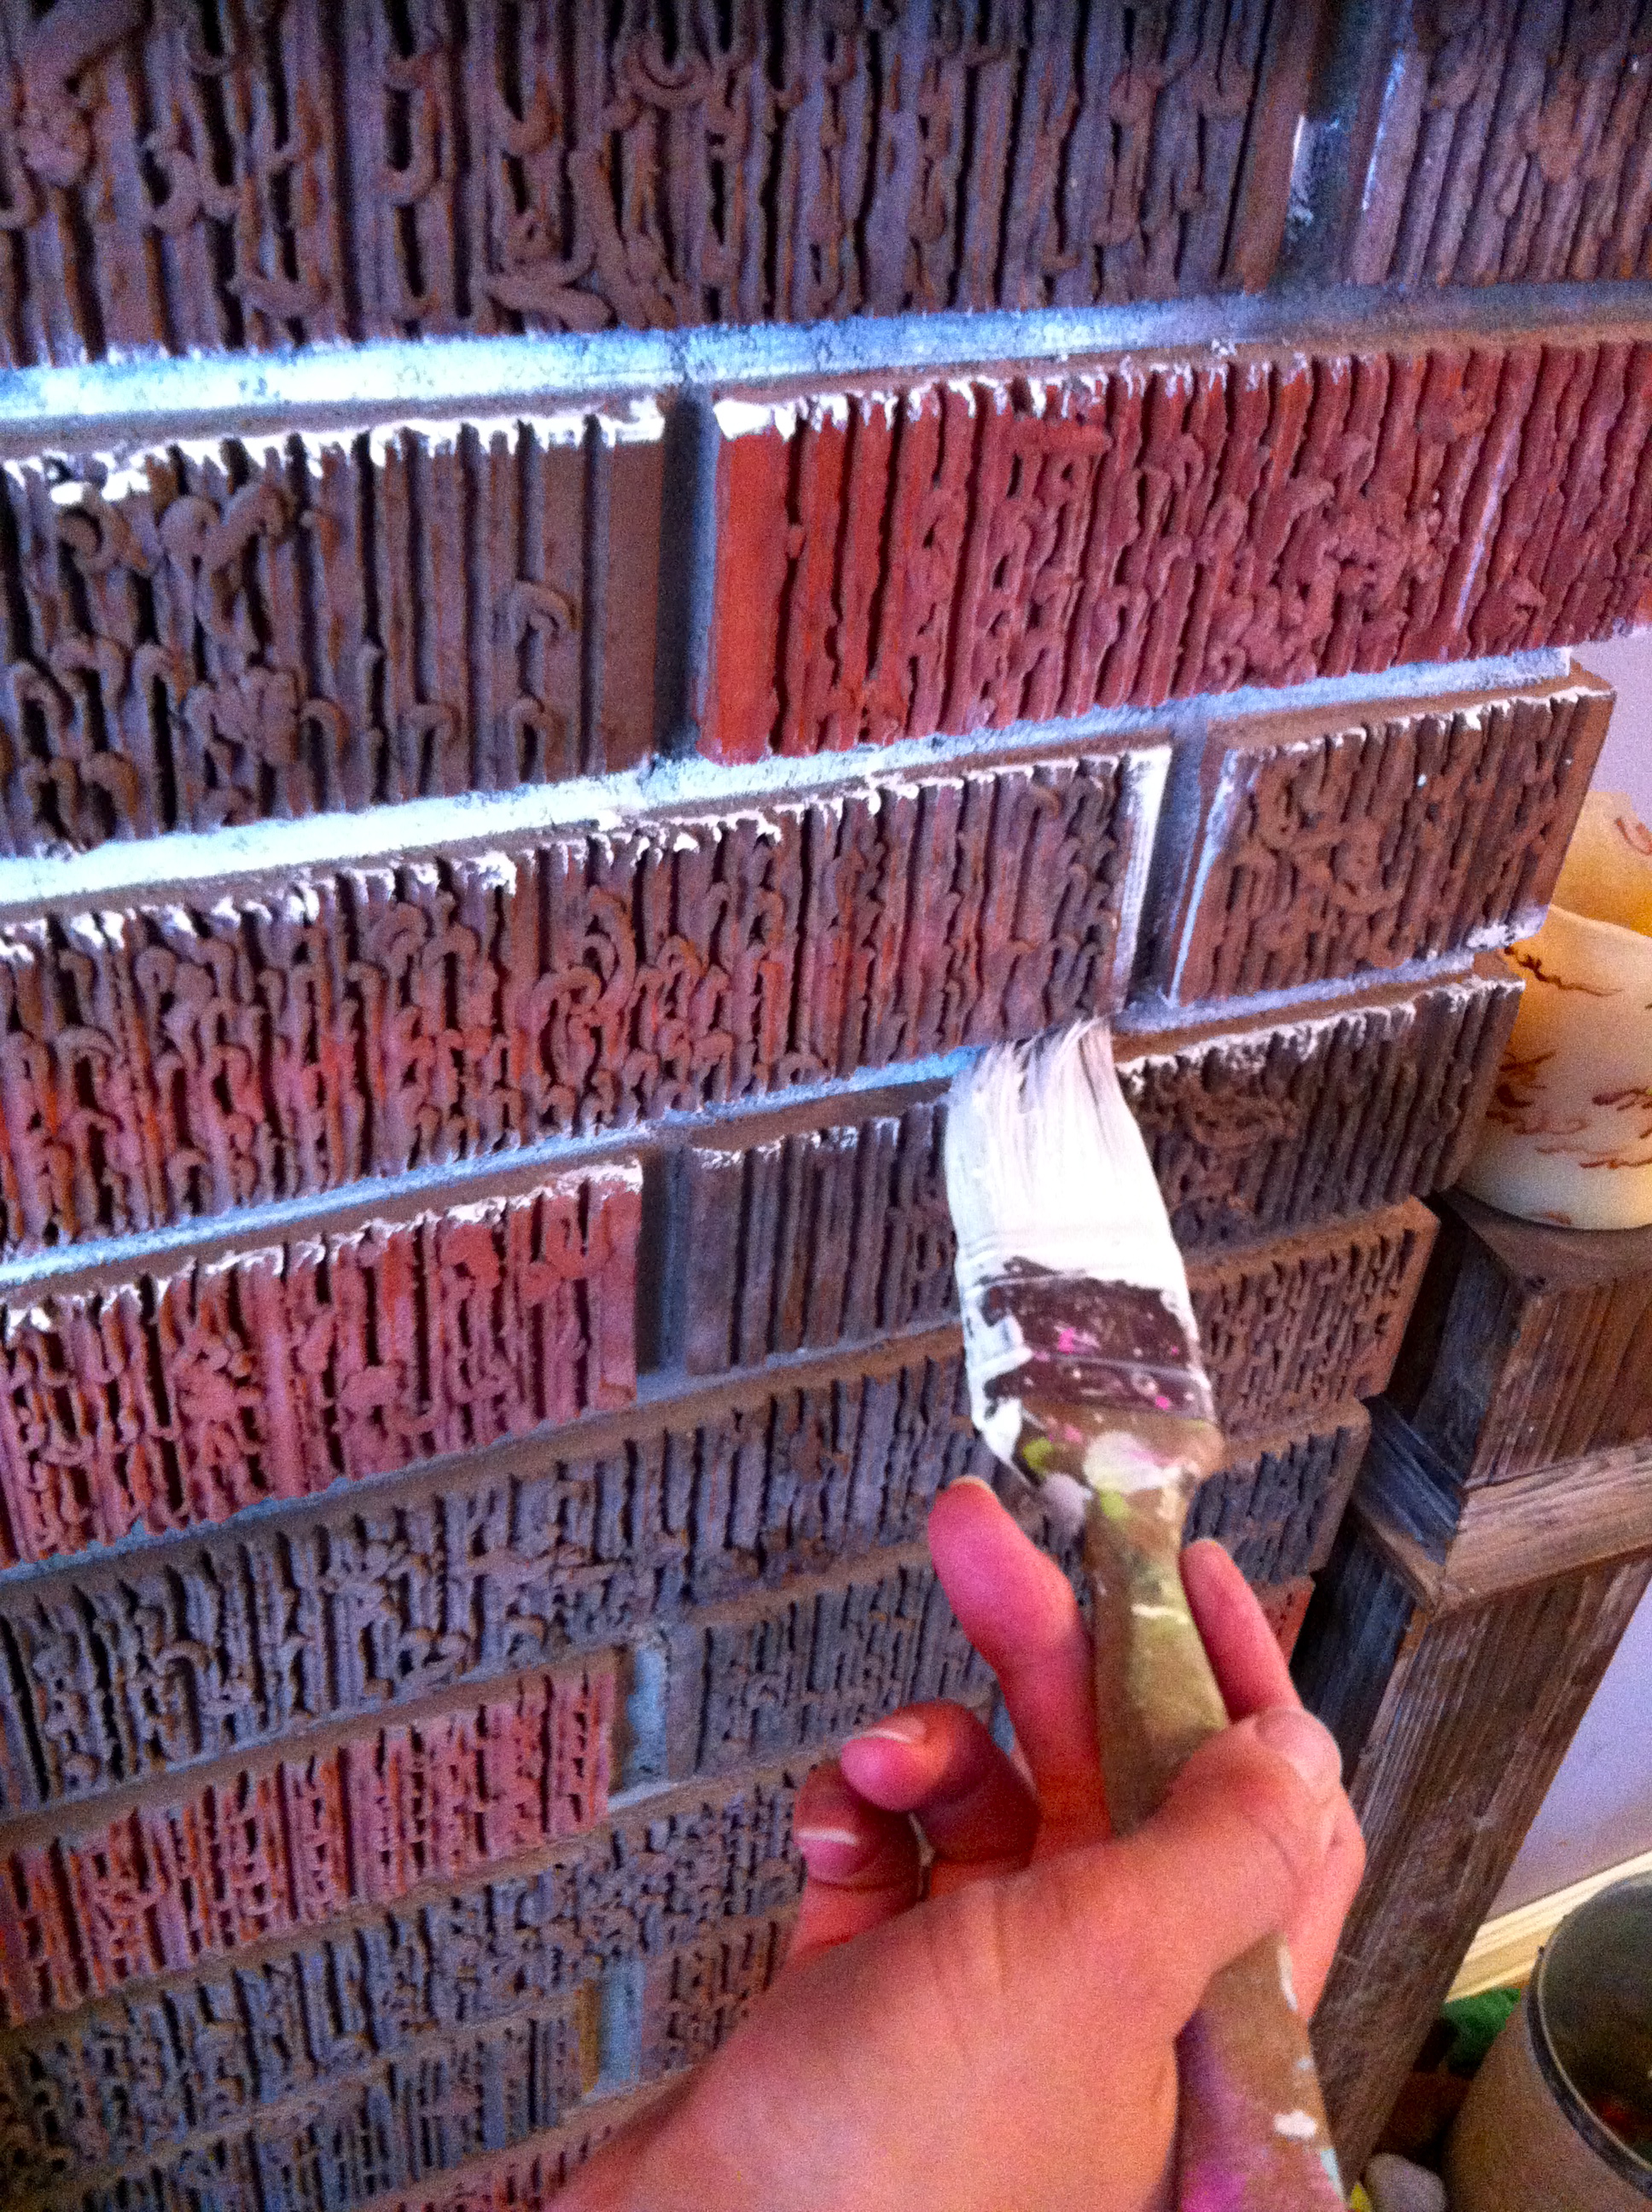
I started with a brush and painted the grout lines.
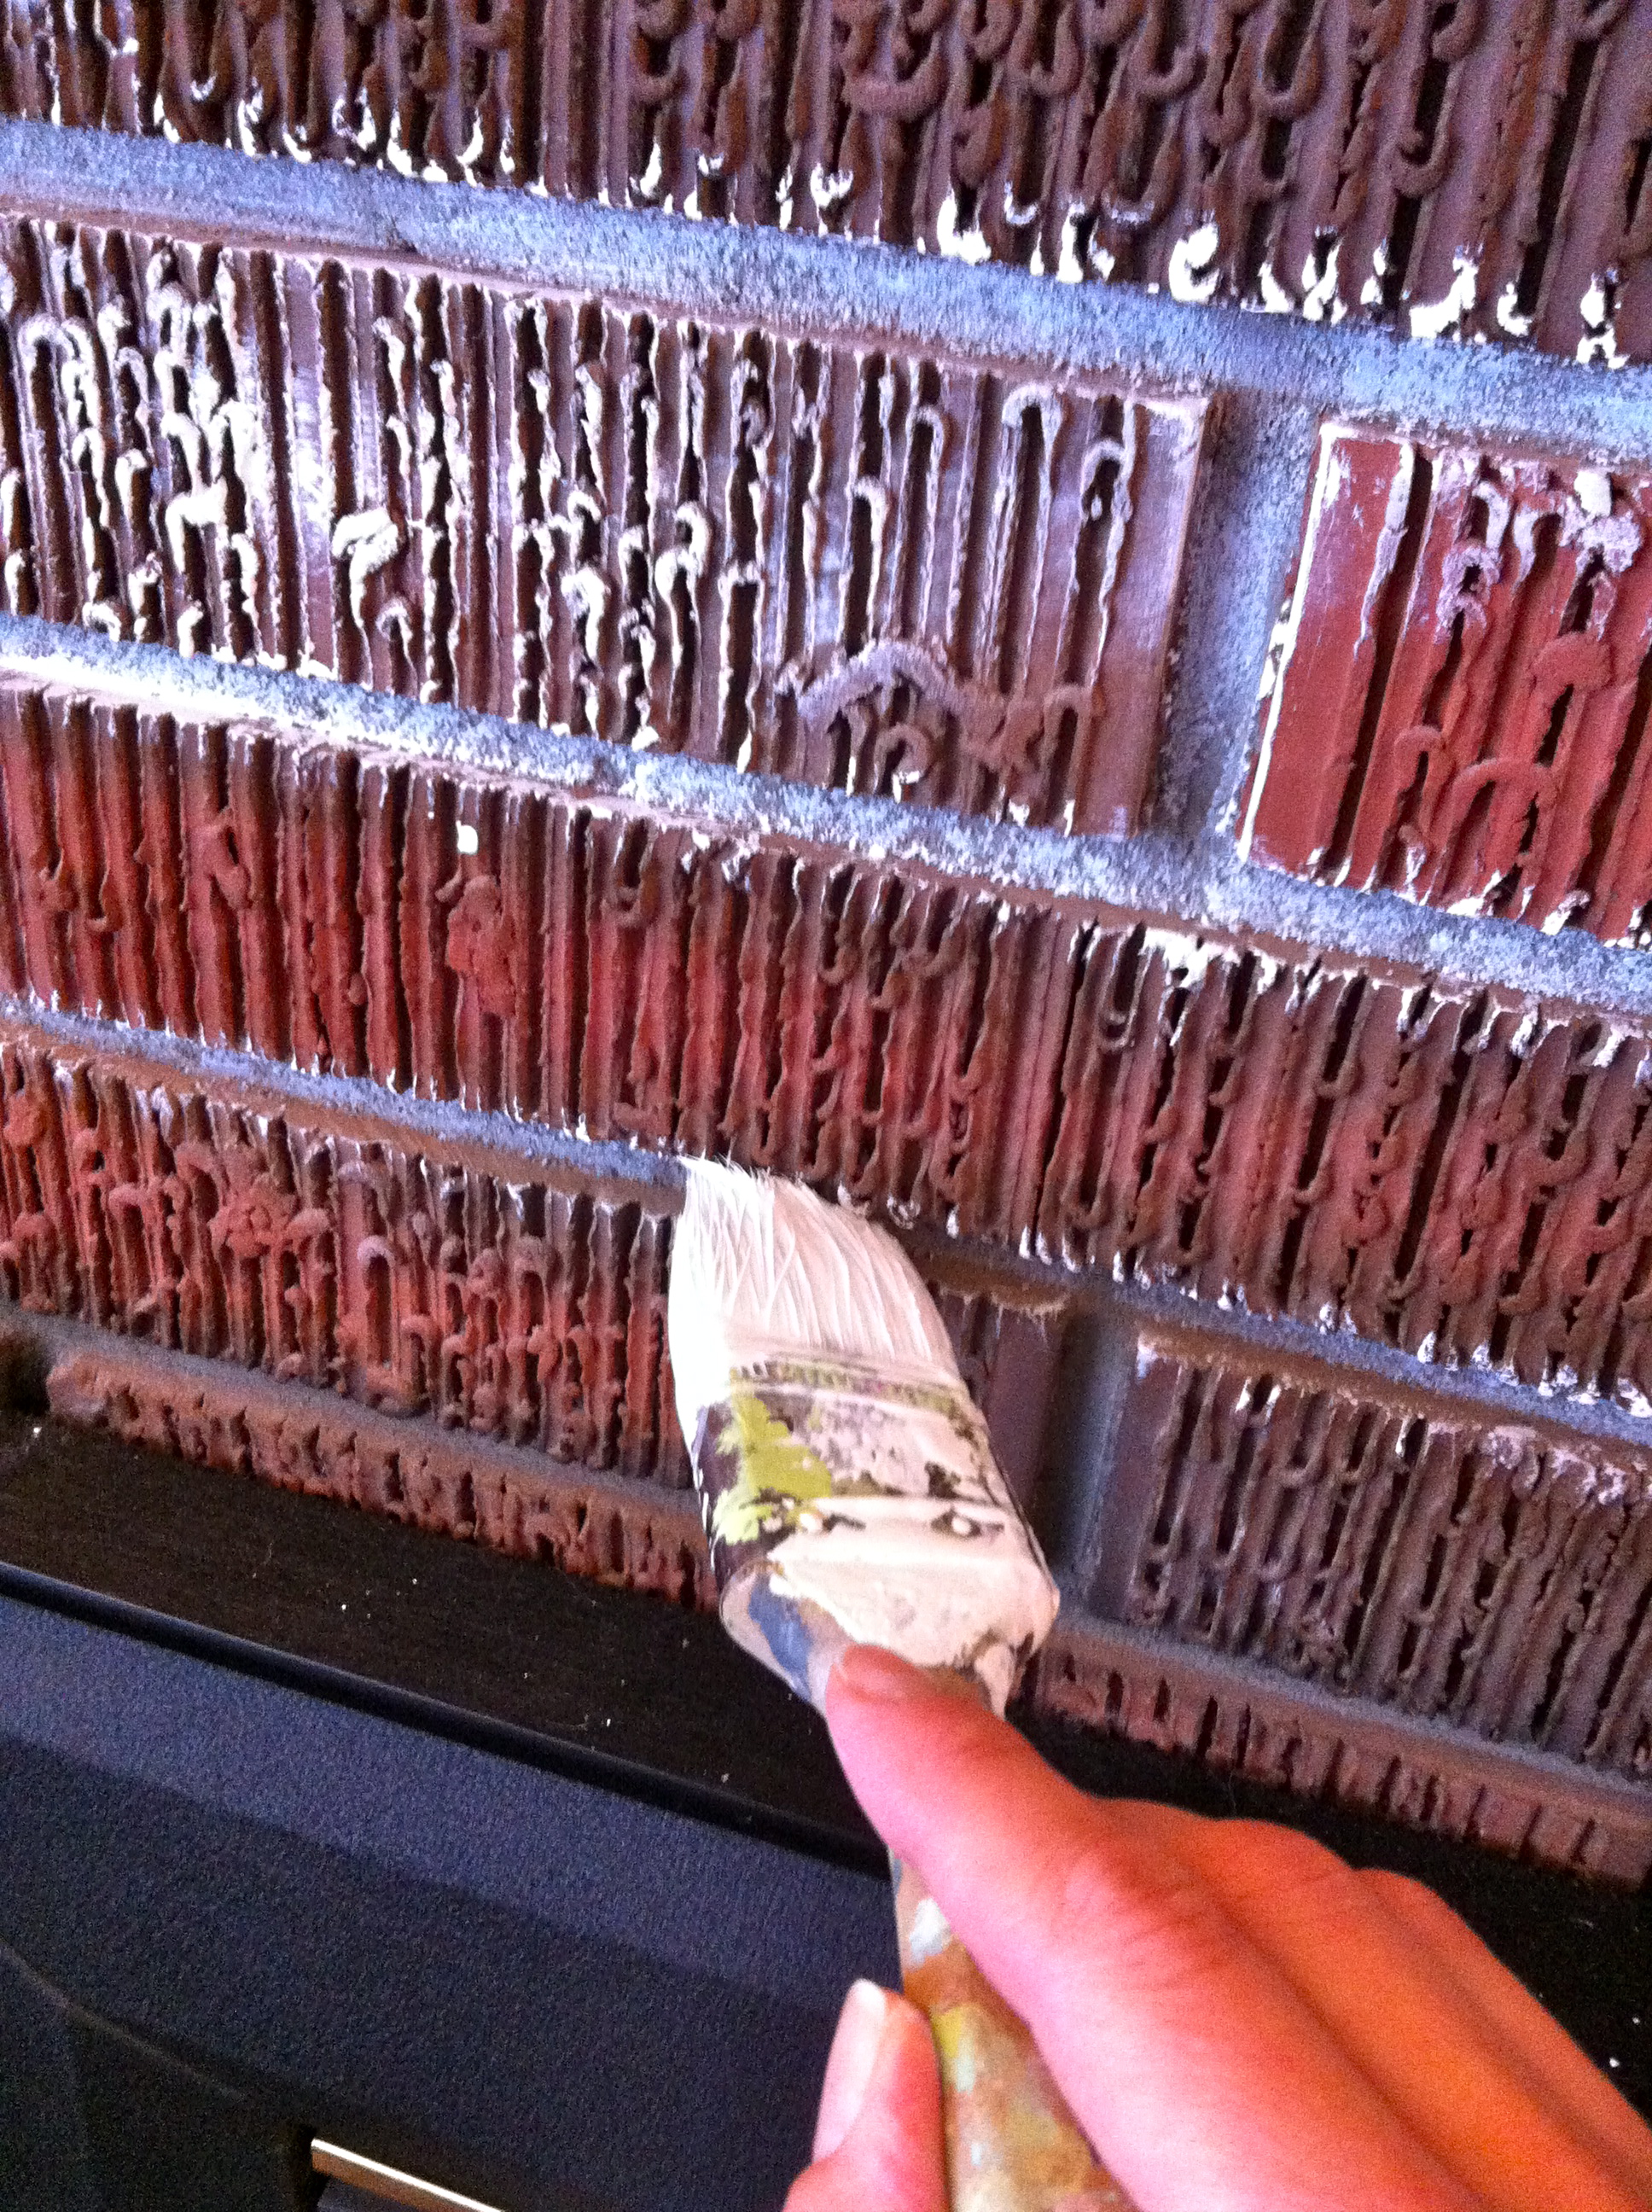
I didn’t paint very evenly which added to the overall effect in the end.
Part way through…. After the grout, I roughly painted some of the redder bricks with the brush. I really slopped on the paint for some bits and used less paint and almost dry brushed other bits.
To add more white I used the spongey roller and again literally slopped it on in some parts allowing it to really seep into the grout lines. I smoothed drips with the brush. Finally, I took some grey paint and watered it down, about 50/50, to make a wash. I used my brush and applied it to the areas that already looked a little grey. I did this very sparingly. End result with my lovely horse of course!
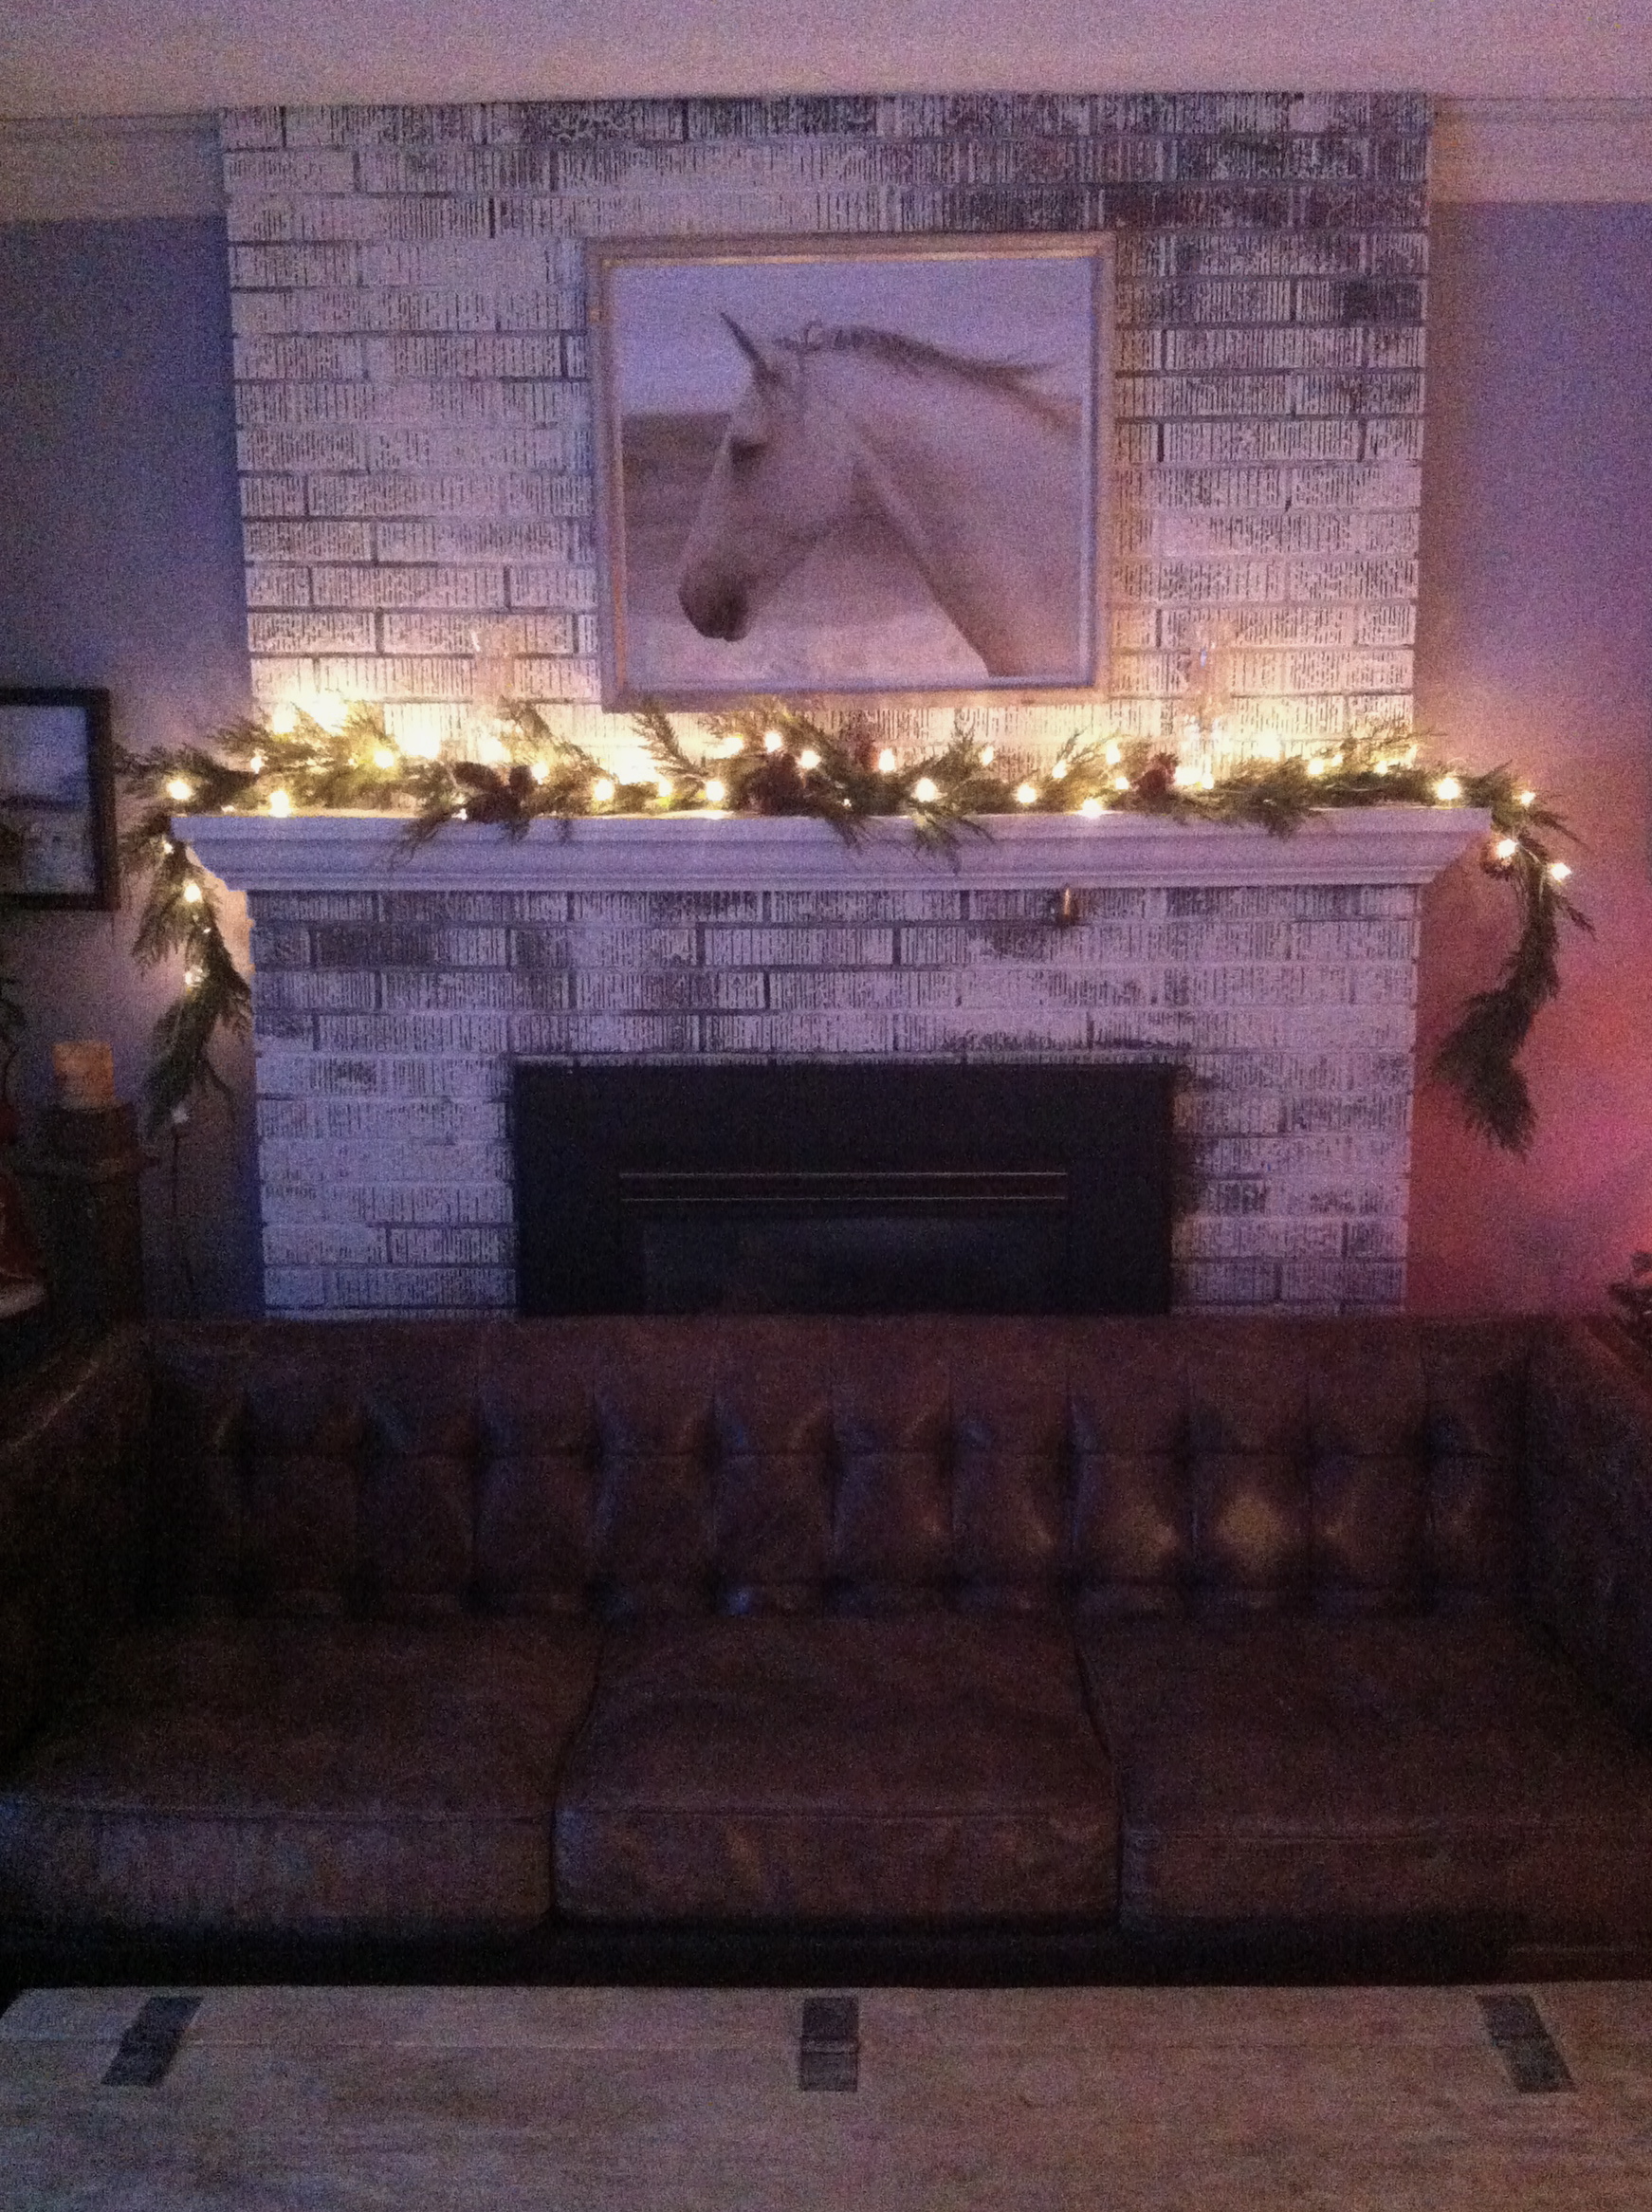
With a touch of Christmas.